Fruit Tart with Pastry Cream
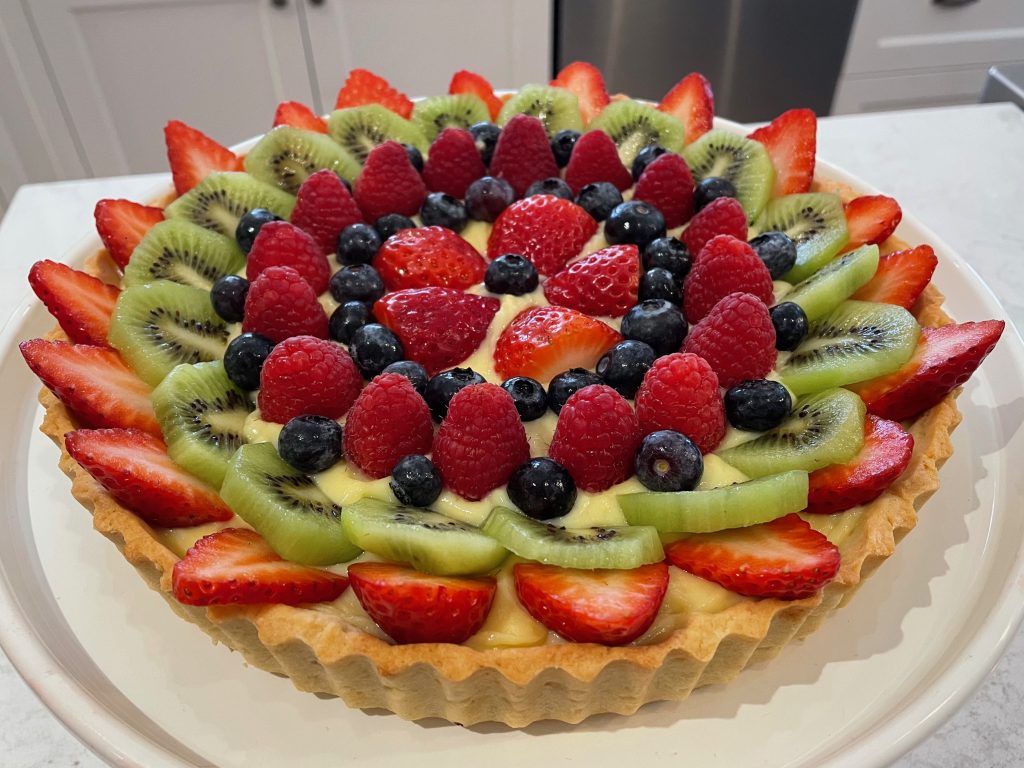
A crisp pastry shell, silky vanilla pastry cream, and fresh fruit. This dessert has simple, yet delicious, flavours and is oh so appealing to the eye… a slam dunk crowd-pleaser at your next dinner party!
Fruit Tart with Pastry Cream
Servings: 1 tart
Ingredients
Pastry Cream
- 2 cup whole milk
- ¾ cup granulated sugar
- 6 egg yolks
- ¼ cup cornstarch
- 1 tsp vanilla extract
- 2 tbsp butter
Pastry Dough
- ½ cup butter, softened
- ½ cup powdered sugar
- 1 egg
- 1 tsp vanilla extract
- 1 + ½ cup all-purpose flour
- ¼ tsp salt
- ¼ tsp baking powder
Fresh Fruit
- 2 cups fresh cut fruit of your choice: kiwi, strawberries, blueberries, raspberries, blackberries, mango, or peaches
Instructions
Make the pastry cream
- Over medium heat, heat the milk in a medium saucepan for about 8-10 minutes. Stir to prevent scalding. Remove once you notice bubbling.
- While milk is heating, in a medium bowl whisk sugar and egg yolks together. Add cornstarch and whisk to combine.
- Once milk is heated, pour approximately half of the milk into the egg mixture, whisking constantly. This is tempering the egg mixture. Once incorporated, add the remaining milk and whisk to combine.
- Add the mixture back into the saucepan and cook over medium heat for about 5-6 minutes. Whisk constantly during this cooking process to prevent burning. Remove once the mixture starts to release large bubbles and thickens – as you move the whisk through the mixture it should be firm enough to hold the lines.
- Remove the pastry cream from the heat and stir in the vanilla and butter.
- Pour the pastry cream into a bowl or glass container. Cover with plastic wrap, pressing the wrap directly onto the surface of the cream to prevent a film from forming. Refrigerate for at least 2 hours, until chilled.
Make the pastry dough
- Cream the butter and powdered sugar together in a medium bowl. Beat on medium speed for about 3 minutes, until the mixture becomes pale in colour and fluffy.
- Add the egg and vanilla to your mixture and beat until well combined.
- Add the flour, salt and baking powder to the mixture and beat on low speed until the dough begins to come together. Do not over-mix, this will cause your tart shell to be more tough.
- Form the dough into a disc and wrap in plastic wrap. Refrigerate for at least 1 hour, until chilled.
Bake the crust
- Preheat the oven to 350F.
- On a lightly floured surface, roll out your pastry dough to about 1/4" thickness. Do not worry if the dough tears or breaks, you can easily press it back together in the pan.
- Transfer the dough to a 9" tart pan or pie plate. Press the dough into the bottom and up the sides of the pan. Trim any excess dough from the top edges and use leftover dough to fill any tears or holes.
- Cover the dough with parchment paper and fill with pie weights to the brim. This is an important step so that your crust stays flat and holds its proper shape.
- Bake for 15 minutes. Remove the parchment paper and pie weights from the tart crust and return the crust to the oven. Bake for an additional 10-12 minutes, until the crust is slightly golden brown on the edges.
- Allow the crust to cool completely.
Assemble the tart
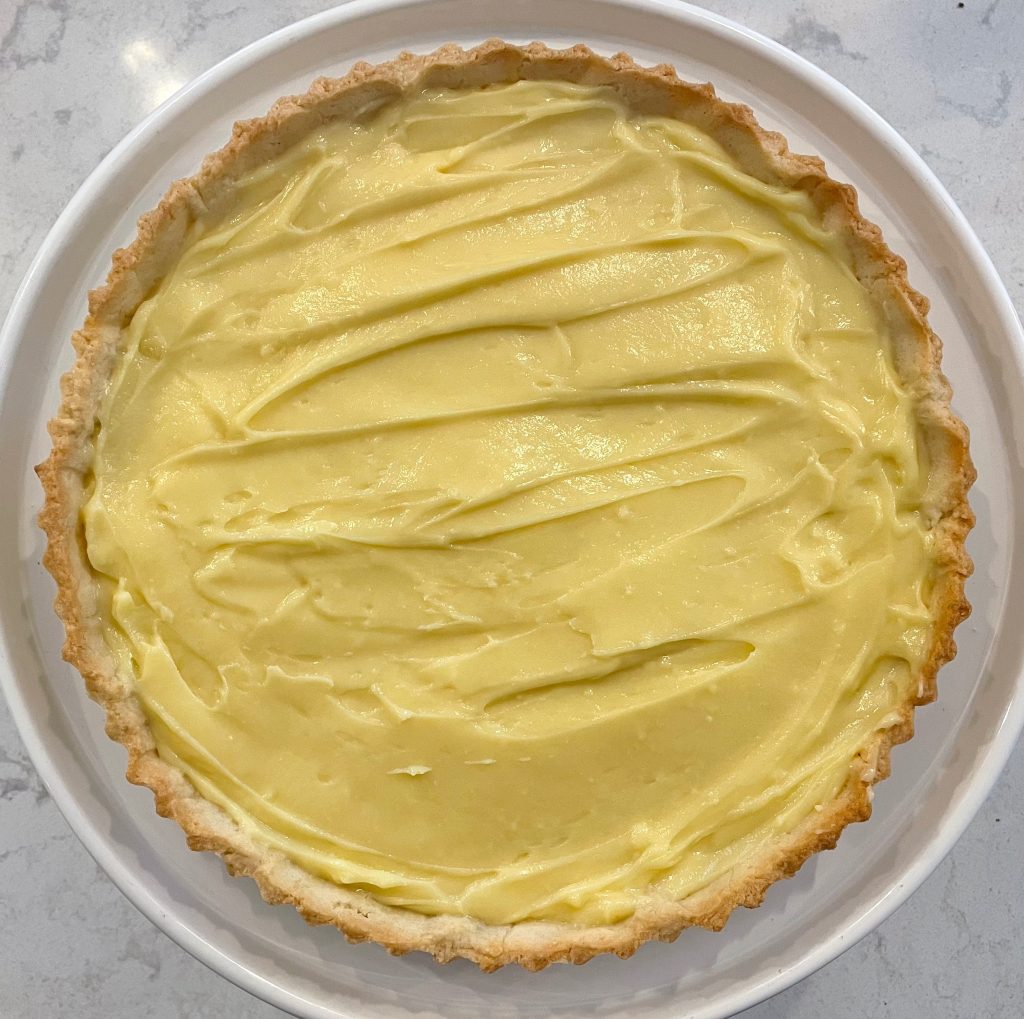
- Spread the chilled pastry cream inside the cool pastry crust.
- Arrange your fresh cut fruit on the pastry cream in a fun and creative pattern.
- Enjoy 🙂
Notes
- Pie weights: if you do not have pie weights, you can use dried beans or uncooked rice instead
- Make fresh: this tart is best enjoyed on the day of assembly. You can certainly prepare the pastry cream and tart shell a day or two ahead of time, but I do not recommend assembling until the day you will be serving. The pastry cream causes the crust to become soggy with time, and the tart shell will loose its delicious crunch.
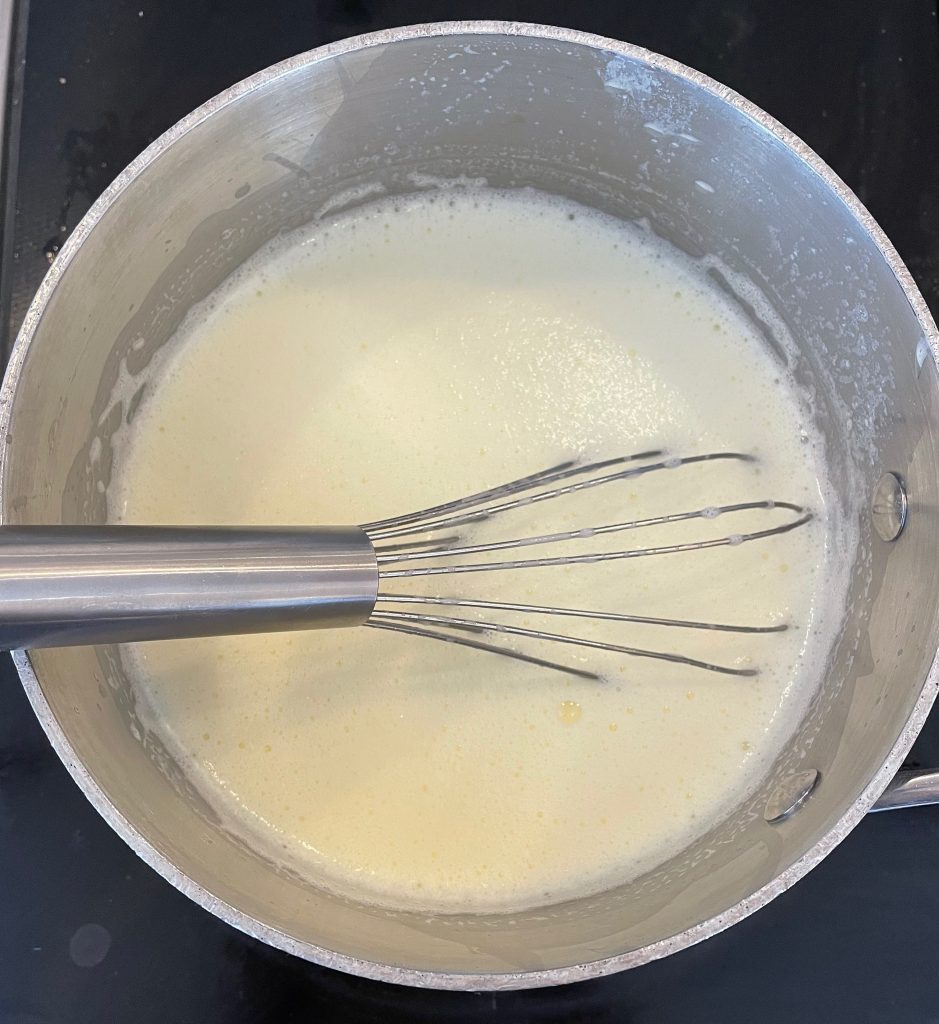

Above: You can see the difference in consistency of the pastry cream from when you initially add the mixture to the pot (left), and when it is ready to be removed from heat (right).


For some inspiration, below are a few different designs I’ve done when arranging the fresh fruit on the tart. Let your artistic skills shine and have fun with it!


