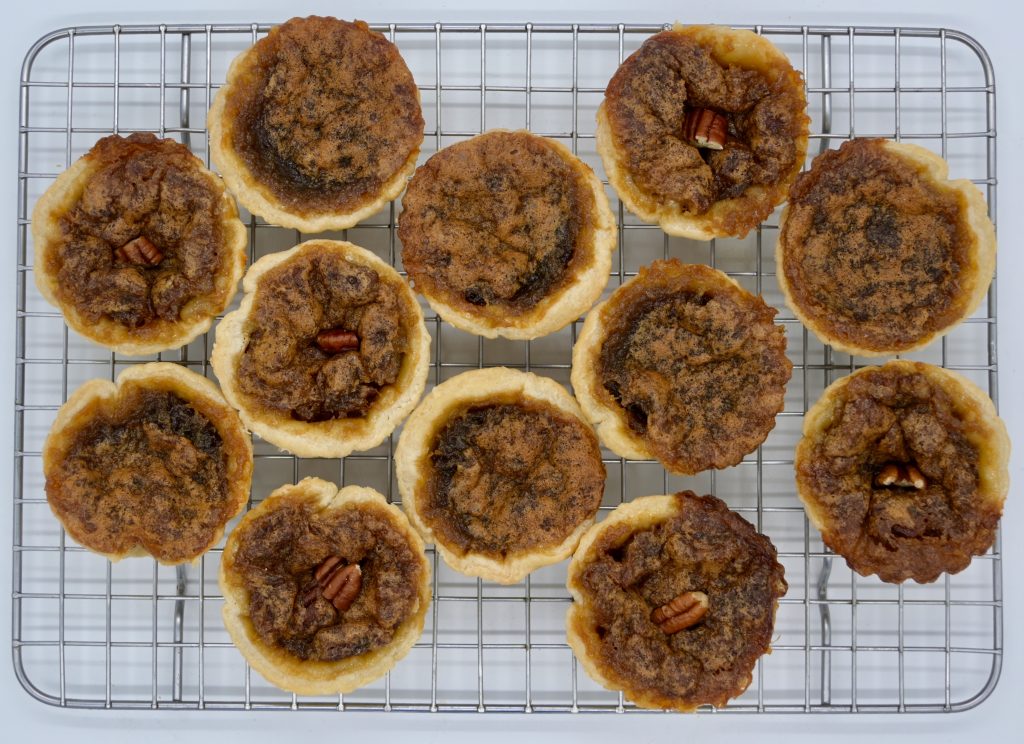
Butter Tarts

Another Canadian classic! Flaky tart shells with a rich and buttery brown sugar filling. It’s an added bonus if you can get the filling to bubble over a tad when baking to create a crunchy caramel around the edges. Fill these tarts with whatever mix-ins you like, or just leave them plain – it’s up for debate which is better!
Butter Tarts
Servings: 12 tarts
Ingredients
Pastry
- 2 ⅔ cup all-purpose flour
- 1 tsp salt
- ½ cup cold vegetable shortening, cubed
- ½ cup cold butter, cubed
- ¼ cup ice-cold water
Filling
- ¼ cup butter, softened
- 2 cups brown sugar
- 2 eggs
- 2 tbsp corn syrup
- 2 tsp vanilla extract
- 1 cup mix-ins of your choice: raisins, chopped pecans, chocolate chips, or toffee bits (optional)
Instructions
Pastry
- In a large bowl, combine the flour and salt. Using two knives, cut the cold shortening and butter into the flour.
- Slowly drizzle the ice-cold water over the flour mixture, tossing with a fork to combine. Continue adding water until the dough comes together when squeezed, you may need a few additional tsp's to achieve this.
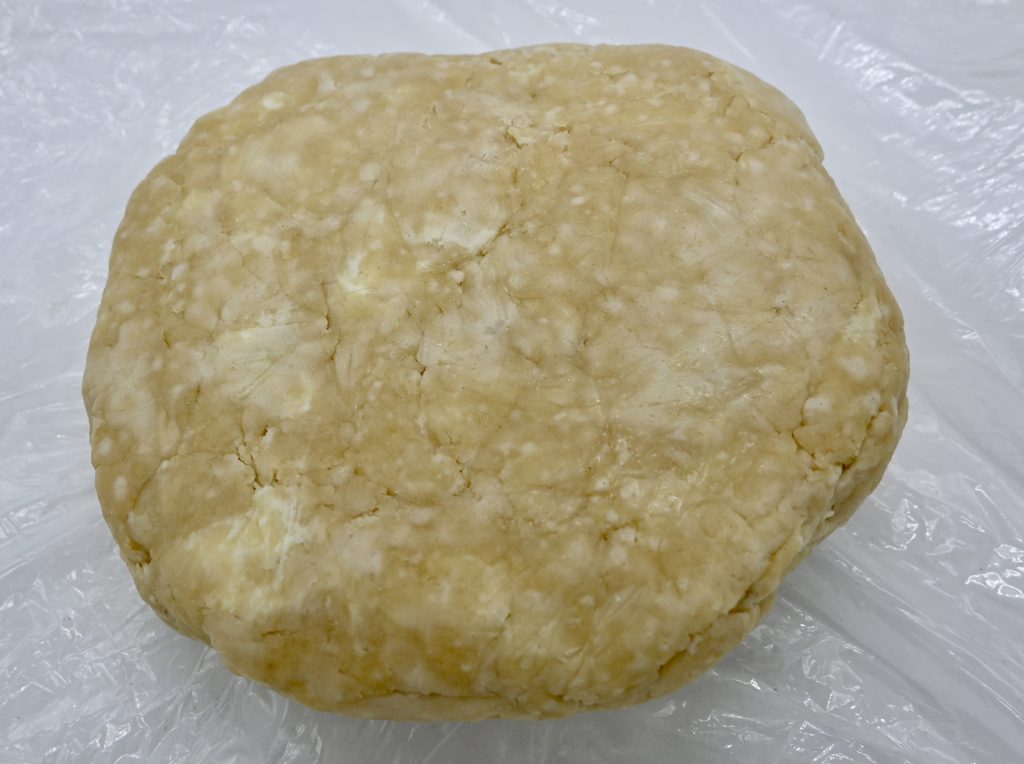
- Shape dough into a disc shape and cover with plastic wrap. Let dough chill for at least 30 minutes in the refrigerator.
Filling
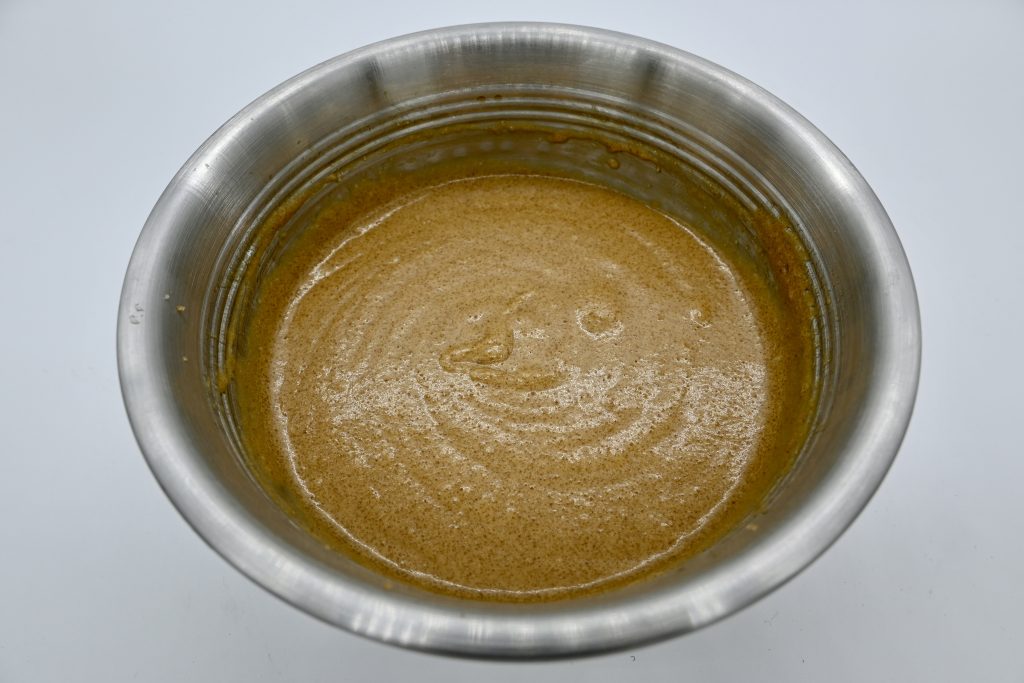
- In a medium bowl, cream together the butter and brown sugar.
- Add eggs one at a time, mixing until combined. Then mix in the corn syrup and vanilla.
Making the tarts
- Preheat oven to 375F and have a muffin tin ready to go. No need to grease the muffin tin – I like to use silicone liners for easy cleaning, but this is not necessary.
- On a lightly floured surface, roll out the pastry dough to approximately ⅛" thickness.
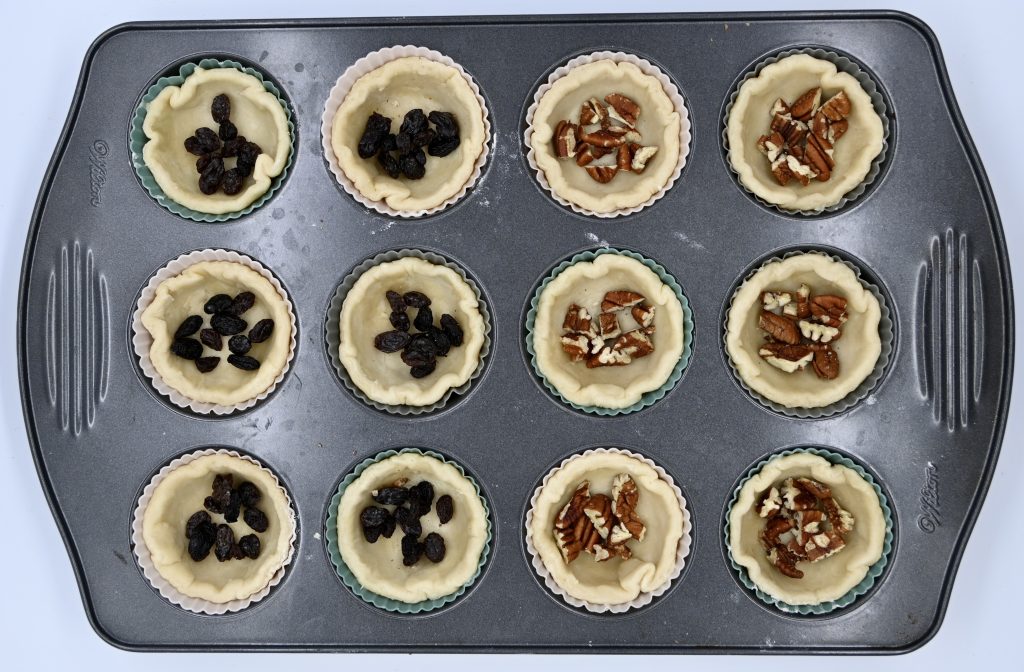
- Using a 3.5-4" circular cutter, cut out 12 rounds of pastry dough. Gently press the dough rounds into the muffin tin, allowing the dough to create folds along the sides if it wants. Feel free to use excess dough to seal any holes or tears.
- If you are adding any mix-ins to the tarts, add a tsp or two to the base of the tarts.
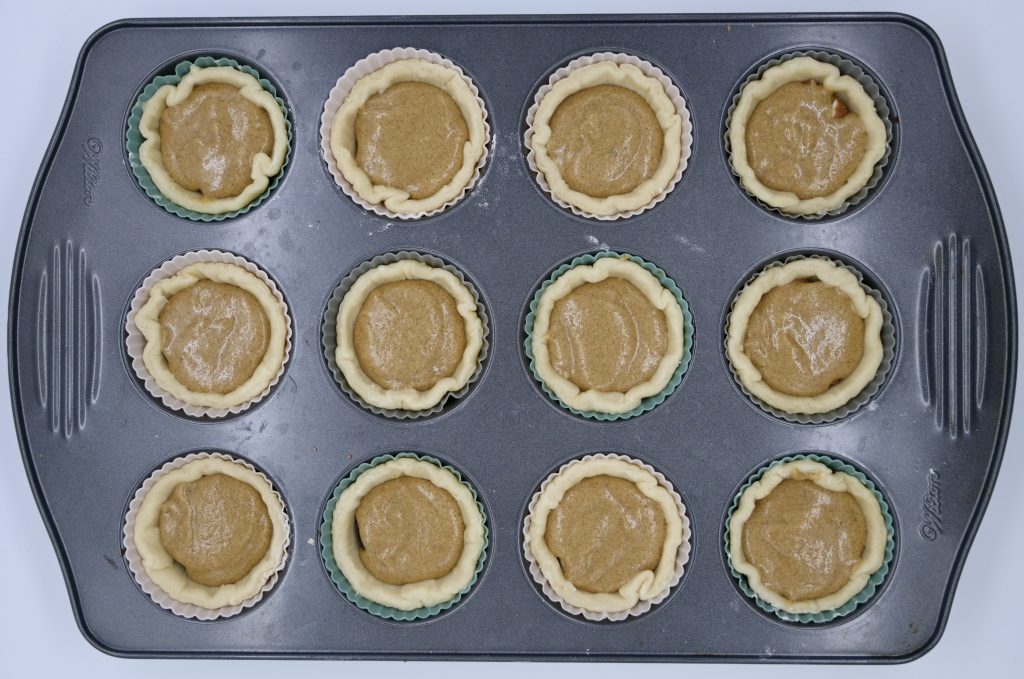
- Pour the filling into the tart shells, distributing evenly.
- Bake for 30-35 minutes, until the edges of the crust is golden in colour.
- Allow to cool before eating. Enjoy 🙂

